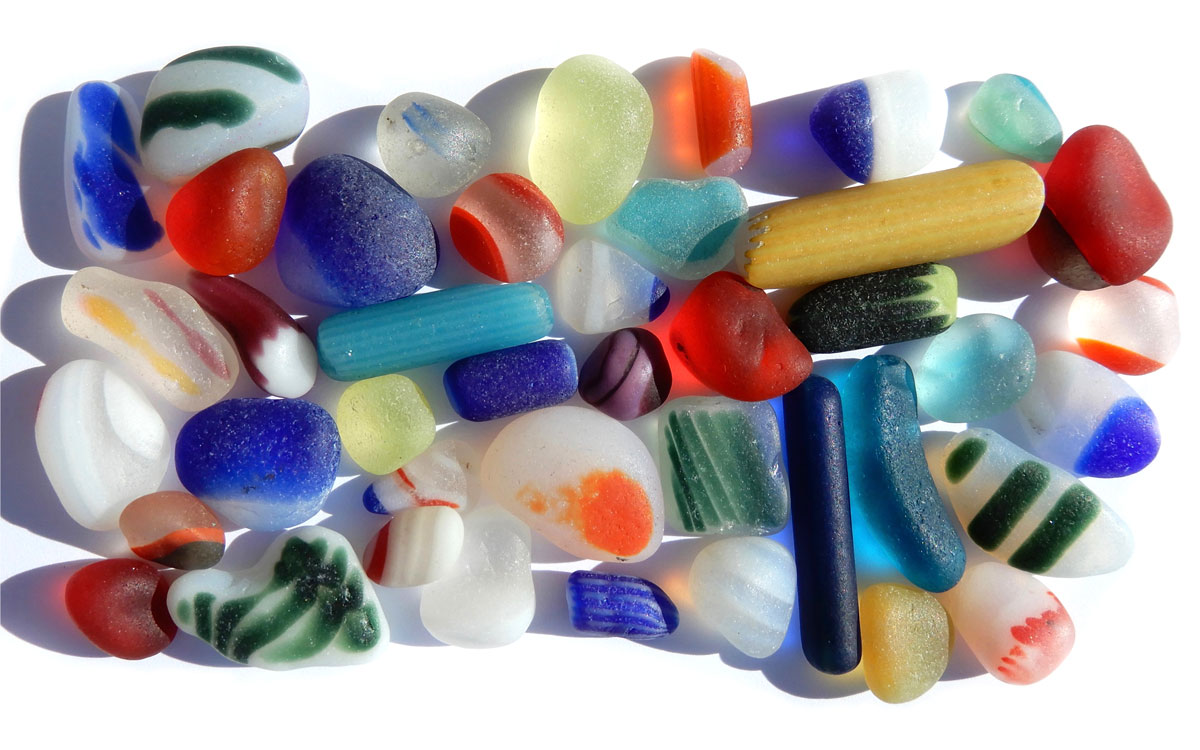
Photo Tips for Sea Glass
By Alicia Cockrum, Tide Charmers
There is no right or wrong way to take a photo. Every photo captures a moment in time through the eyes of the person taking the photo. It would be an exceptionally dull world if we all took the exact same photographs. It is the personality and unique vantage point of the individual photographer that allows magic to be captured. However, here are a few tips to make sure your photos shine:
1. Make your camera work for you! The best tip I ever received when I began taking photos was to spend time getting to know my camera. This holds true for a camera phone as well. Take the time to read the manual that comes with your camera, getting to know what it can do. Spend some time taking photos of the world around you as you get comfortable with your camera. Upload your photos to your computer, so you can tell if things are in focus and bright enough. A good photographer knows that the most amazing photograph often has very little to do with the camera itself and everything to do with how well the photographer understands their equipment.
2. A useful tip when shooting a scene with movement in the background (such as a wave) is to use the Auto Exposure (AE) and Auto Focus (AF) features available on touch screen camera phones. This feature allows you to lock in the focus and exposure (lighting) of your photo. You can access the AE/AF feature on your camera phone by simply touching the subject of your photo on the screen. In doing so, a small square box with a line with a sun icon in the middle will pop up. Placing the square over the center of the subject of your photo locks in the focus to the selected area. The sliding line to the right of the box with the sun icon in the middle allows you to adjust the light in the photo by sliding the sun icon up or down. This very useful feature is known as the AE/AF Lock.
If you are using a digital camera, I find it useful to focus the camera on the sea glass by pointing the lens towards the sand where there is no motion and holding the shutter button halfway down to engage the auto focus. Just before I click the button to take the photo, I quickly lift the lens up to allow the ocean to appear in the background. This allows the camera to remain focused on the sea glass before it gets distracted by any movement in the background of the photo.
3. Some of the best photographs of sea glass I have seen have been shot outdoors. There is something about the use of natural light that really captures the luminosity of sea glass. It is also helpful to remember that the color of the ocean or lake reflects the sky above it. If is grey and overcast outside, the ocean will look grey and dull in the photos as well.
4. Be mindful of the direction the shadows are falling as this allows you to place your sea glass in a position to control where the shadow is cast in the photo. The sun coming from behind the sea glass will place the shadows directly in front of the sea glass. This is quite useful for creating “color puddles.”
Try moving around to avoid your shadow being cast on your sea glass while shooting.
5. I spray my sea glass with reef safe sunscreen and allow it to dry before taking photos. This creates a matte effect, temporarily eliminating the layers of white frost and increasing the vibrancy and color of the glass, while allowing for the characteristic C markings of the sea glass to remain. Try taking the photograph with dry, matte, or wet sea glass to see which look best captures your shot.
6. To make your sea glass stand out, consider shooting it against complementary, or contrasting, colors. I will often use a color wheel (above) to note what colors are complementary (on the opposite side of the color wheel) or analogous (adjacent on the color wheel) to the colors of the sea glass I am shooting.
7. Try incorporating some of the natural elements found on a beach such as seaweed, rocks, or shells into your photo. These offer nice pops of color and contrast for your photo. A nice shell can hold your sea glass allowing you to shoot on top of railing, fence post, or willing shore plants.
8. I travel with a little container of sand from my favorite beach. I use this sand to create a beach or sandy scene in my photos when no “beach” is available.
I have shot countless photos on cement curbs alongside the Pacific Coast Highway.
9. Piers, railings, and fence posts offer great vantage points for taking that beautiful coastal shot. The sunlight is often unfiltered and direct when you can elevate your sea glass above ground level.
Later, you can crop the photo to exclude the post or railing. Be careful as it is possible that your piece may fall, so be sure if it falls you are in a location where you are able to get it back.
10. Consider your vantage point or view from your camera. It can be fun to take the photo from an unusual level or angle that our eyes are not used to seeing. Most of us view sea glass looking down or straight out. Try shooting from below your sea glass or to the left or right of the glass versus in the middle.
People are drawn to photographs that offer a different perspective from what they are used to seeing.
11. Let your light shine. Have the willingness to take photos that showcase how you see the world you live in. Have fun and enjoy spending time capturing the moments that make life beautiful in the way only you can.
This article appeared in the Beachcombing Magazine March/April 2020 issue.
All photos copyrighted by Tide Charmers.